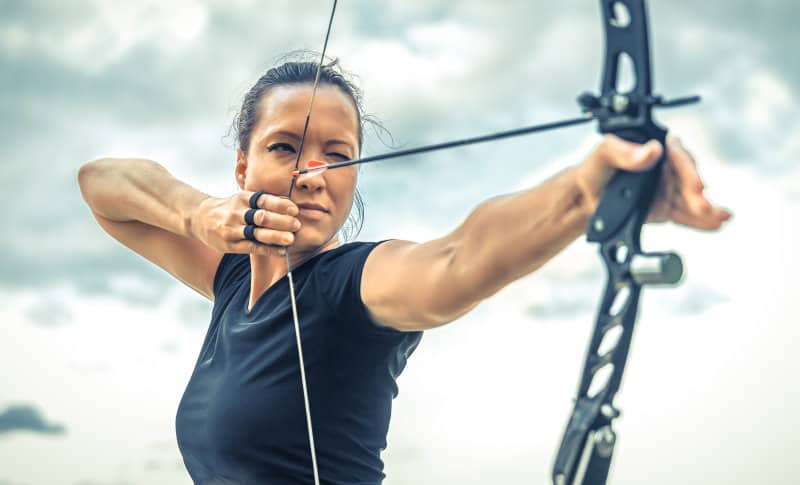
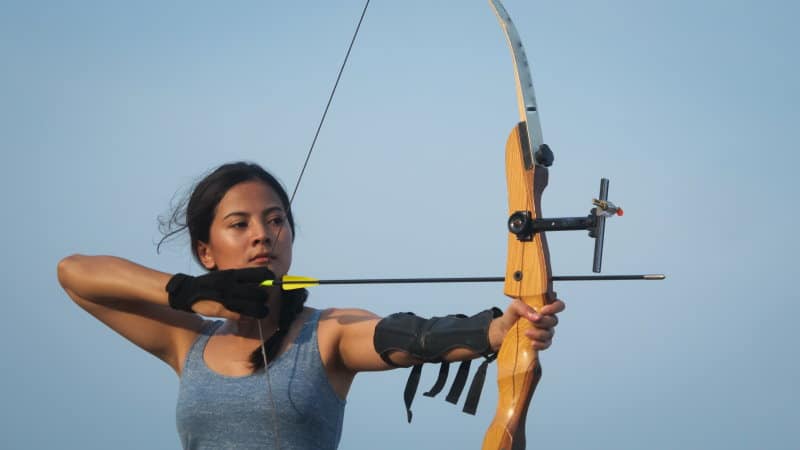
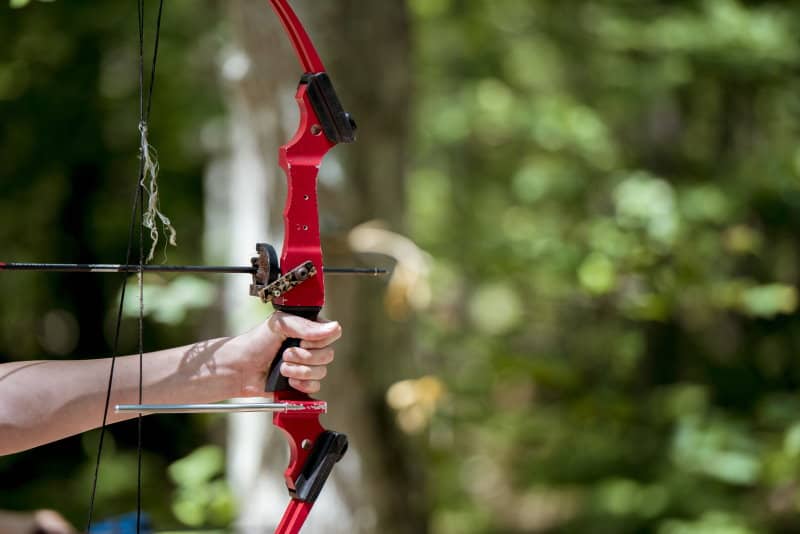
Gripping a bow and holding a bow are very different things. It’s easy to pick up a bow, grab that string, and watch the arrow fly. However, gripping a bow the way it should be gripped is a different story.
Grip in archery is being able to consistently hold the bow correctly. The most important aspect is repeating that hold in every single shot. The point is to minimize faults caused by muscle tension or fatigue.
There’s a bit more to gripping a bow than just knowing what it means and trying to mimic it. If you’re looking for that consistent grip that can up your game, we’re here to help.
How Should You Grip a Bow?

The first intuition would be to firmly hold the bow as if it’s a firearm. That hold has a name; it’s called the pistol grip.
No matter how comfortable and natural it might initially seem, the pistol grip is the worst grip you could do while holding a bow.
The reason for this is that the pistol grip causes tension in most muscles of the arm. While maintaining that muscle tension, the wrist could exert some rotational minor movements known as torque. Torque is the main reason for inconsistent grips and misguided shots.
Archers who exert too much torque usually miss the target by going too much to the right or the left, which is the result of the wrist swaying right or left.
So, the primary goal is to eliminate the torque and aim for a relaxed arm while gripping the bow.
Important Definitions to Keep in Mind
Before we shed light on how you should grip your bow in a way that eliminates toque, there are a few definitions you need to keep in mind:
- The pivot point: the deepest point on the bow handle where your hand meets the bow
- The pressure point: the area on the bow handle where you’re exerting the most pressure
- The lifeline: the closest major line to the thumb in the palm
- The thumb pad: the base of the thumb
How to Grip a Brow Properly
Before holding the bow, open the palm of your hand and stretch your arm ahead of you. The thumb should be stretched away from the index, parallel to the ground, to form an L shape.
After that, the hand should be rotated 45 degrees so that the L shape would turn into a V shape.
To get a correct torque-free grip, the pivot point of the bow should be located between the lifeline and the thumb pad.
The other fingers should be free enough to move while the bow is drawn. If they’re not free to move, then the grip is not correct yet.
The fingers don’t have to be fully relaxed like that, but this is what a correct relaxed grip should look like.
The instructions are a bit confusing without visualization, but no worries. This video will bridge the gap between imagination and reality.
Are There Different Grips?
Holding a bow can be done in three different ways: the high wrist grip, the mid wrist grip, and the low wrist grip.
It’s important to know that none of the grips is more right than the other, and unless your bow forces you into one of them, the choice of grip is a personal preference.
Normally, you get to choose whichever you like. However, some bows force you into a high wrist grip.
Commonly, longbows are harder to shoot than modern bows as they require a more complex technique, and some of them can only be held using the high wrist grip. The higher the grip, the more difficult it will be to handle the bow (more on that soon).
To learn why longbows are harder to shoot, check out this article Are Longbows Hard to Shoot?
High Wrist Grip
The high wrist grip is the oldest bow grip, but it’s also the least common grip seen nowadays. Previously, some recurve bows, like Ben Pearson bows, only allowed you to use the high wrist grip. This made them harder to learn and use than modern compound bows, which have more grip freedom.
Here’s an example of how a bow can force you to use only a high wrist grip:

To learn more about the difference between recurve bows and compound bows, have a look at this article: The Difference Between Recurve and Compound Arrows
The high wrist grip is harder to master and do correctly, but in theory, it’s more forgiving to the change in wrist pressure because the area of your palm that contacts the bow grip is small. This makes the pressure point and the pivot point close to each other.
Let’s explain. We mentioned the pressure and pivot points before. Imagine that you have a horizontal line that passes through the pivot point. Normally, the pressure point should be under that line.
The more you bend your wrist to get that high grip, the closer both points get to each other. When the pressure point gets close to the pivot point, the accidental change in pressure won’t affect your accuracy too much, making it more forgiving.
However, Being locked in one position forces the wrist to be the only shock absorber in this grip, leading to faster fatigue.
The high wrist grip could be summarized in these points:
- Hard to learn
- Causes wrist fatigue
- More forgiving to pressure change
Low Wrist Grip
With pivot and pressure points explained, it’s easy to conclude that the pressure point is more away from the pivot point in the low wrist grip.
When both points are away from each other, gripping the bow becomes much easier. That’s because the wrist is more relaxed and most of the pressure is applied to the elbow. The elbow has more tendons than the wrist, making it a better shock absorber.
However, any change in pressure could affect your accuracy. So, it’s to be assumed that low wrist grip is easy to learn, but less forgiving to the change in pressure than the high wrist grip.
The low wrist grip could be summarized in these points:
- Easy to learn
- Doesn’t cause wrist fatigue
- Less forgiving to pressure change
Mid Wrist Grip
The mid wrist grip is considered the sweet spot between both grips, which is why it’s used by over 70% of archers.
Since it doesn’t have specific parameters to apply on the handle, people’s mid grips are hardly the same. Some people’s mid grip could be closer to a high grip, while others could be closer than a low grip.
The mid wrist grip allows you to have both your wrist and your elbow as shock absorbers, giving you the freedom to switch pressure between both of them as you see fit. This provides less tendency to fatigue.
However, unintended change between both of the shock absorbers could lead to an unintended change in the distance between the pressure and pivot points. This could lead to inaccuracy.
The med wrist grip could be summarized in these points:
- Relatively easy to learn
- Allows for two shock absorbers
- Hard to master
Check how a modern compound bow has a grip that allows you to use any of the three grips:
Find Your Grip
In archery, the most important aspects are consistency and repeatability. If you’re able to grip the bow in the same manner every single time, then your shots will land on target more often.
Take your time with each grip till you know which is more suitable. And remember, no grip is superior to another, so go for the grip that’s easy for you to recreate, and enjoy watching the arrows fly to the target.
Also, be sure to check out this article to know whether or not you need gloves to improve your archery.

